What birds like safflower seed?
Safflower seeds attract a wonderful array of delightful bird species and have the added advantage of being unappealing to squirrels and bully birds
Jul 23, 2024 | by N Johansson

In a world of high-tech survival gear, the humble bow and arrow stands out as a timeless and versatile tool that has served humanity for thousands of years. Survival bows, specifically designed for emergency situations and outdoor survival, combine ancient wisdom with modern engineering to create a powerful, portable, and reliable weapon system. Whether you're an experienced prepper or a novice outdoor enthusiast, understanding the value of a survival bow could make all the difference in a challenging situation. Survival bows offer unique advantages that set them apart from other weapons:
As we delve deeper into the world of survival bows, we'll explore their types, how to choose the right one, essential techniques, and why mastering this ancient weapon might be one of the most valuable survival skills you can acquire. Whether you're preparing for the unexpected or simply interested in connecting with a primal form of marksmanship, the survival bow offers a unique blend of simplicity, effectiveness, and self-reliance that few other tools can match.
What is a Survival Bow? A survival bow is a type of bow designed specifically for portability and versatility in survival situations. Unlike traditional bows used primarily for sport or hunting, survival bows are crafted to be lightweight, easy to assemble, and efficient in various conditions.
Why Use a Survival Bow?
Material and Build Quality
Draw Weight and Length
Portability
Accessories and Compatibility

In a survival situation, the ability to quickly fashion a functional bow from available materials can be a game-changer. Here's a comprehensive guide to help you create your own survival bow.
Wood: Select a flexible yet strong wood such as maple, oak, hickory, or ash. The wood should be recently cut and green for easier shaping.
Knife: A fixed-blade knife or multitool for carving.
String: Nylon, sinew, or plant fiber string for the bowstring.
Additional Tools: Sandpaper, a pencil or charcoal for marking, and a piece of leather for an armguard.
Choose a sapling or branch that is about 1 to 1.5 inches in diameter and 5 to 6 feet long. The wood should be free of knots and branches, with a gradual taper from one end to the other. Test the wood's flexibility by bending a small branch; it should snap back quickly without breaking[3][5].
Cutting and Debarking: Cut the selected sapling and remove the bark. Be careful not to damage the wood underneath, as this could affect the bow's integrity[2].
Marking the Handle: Find the middle of the stave and mark where the handle will be. This is typically about 4 to 6 inches in the center[3].
Roughing Out the Side Profile: Taper the limbs so that they are thinner at the tips and thicker near the handle. This helps in achieving a smooth bend[2].
Roughing Out the Front Profile: Shape the front of the bow to ensure it is evenly tapered from the handle to the tips[2].
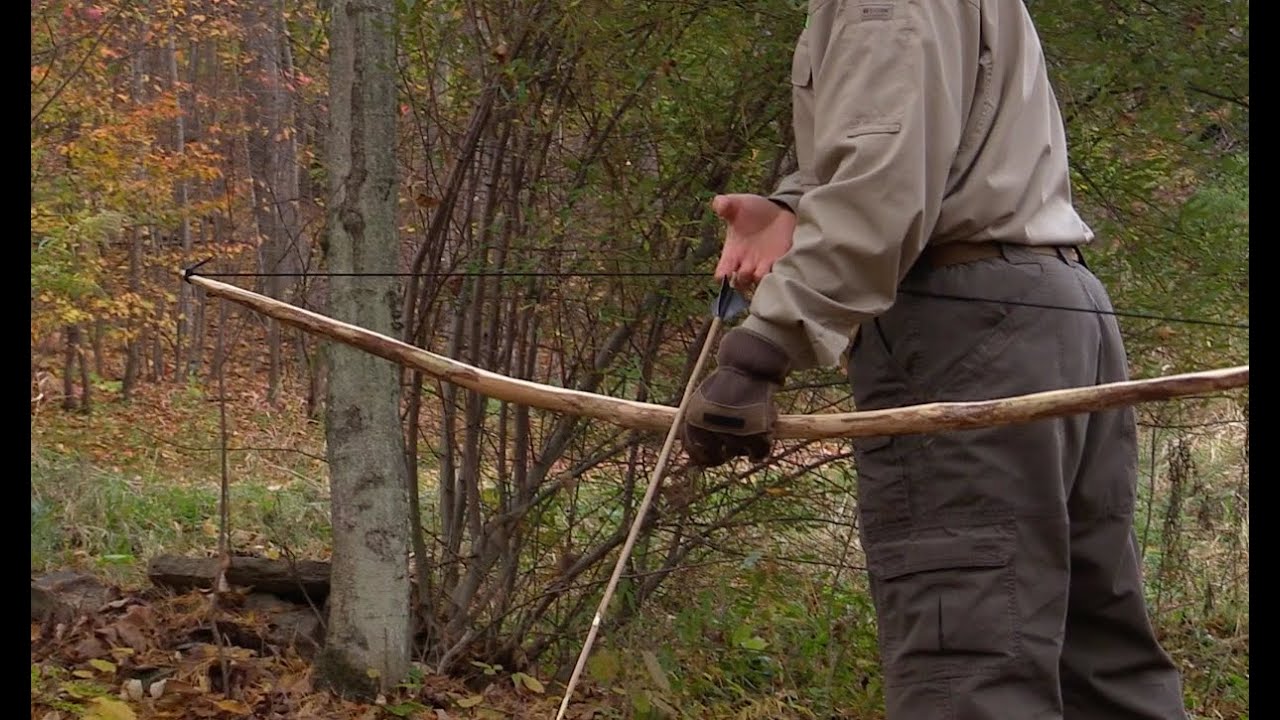
Tillering is the process of ensuring that both limbs of the bow bend evenly. Hang the bow horizontally and pull down on the string to observe the bend. Remove wood from the belly of the limbs where they do not bend and leave material where they bend too much. The goal is to achieve a parabolic curve[5].
Carve small notches on both sides of each tip to hold the bowstring. Tie loops into both ends of the string, ensuring there is about 5 to 6 inches between the string and the handle when the bow is strung. Be cautious not to pull back on the string until the bow is fully tillered[5].
Selecting Arrow Wood: Use straight shoots from trees like maple, willow, or dogwood. The shoots should be as straight as possible and free of knots[3][4].
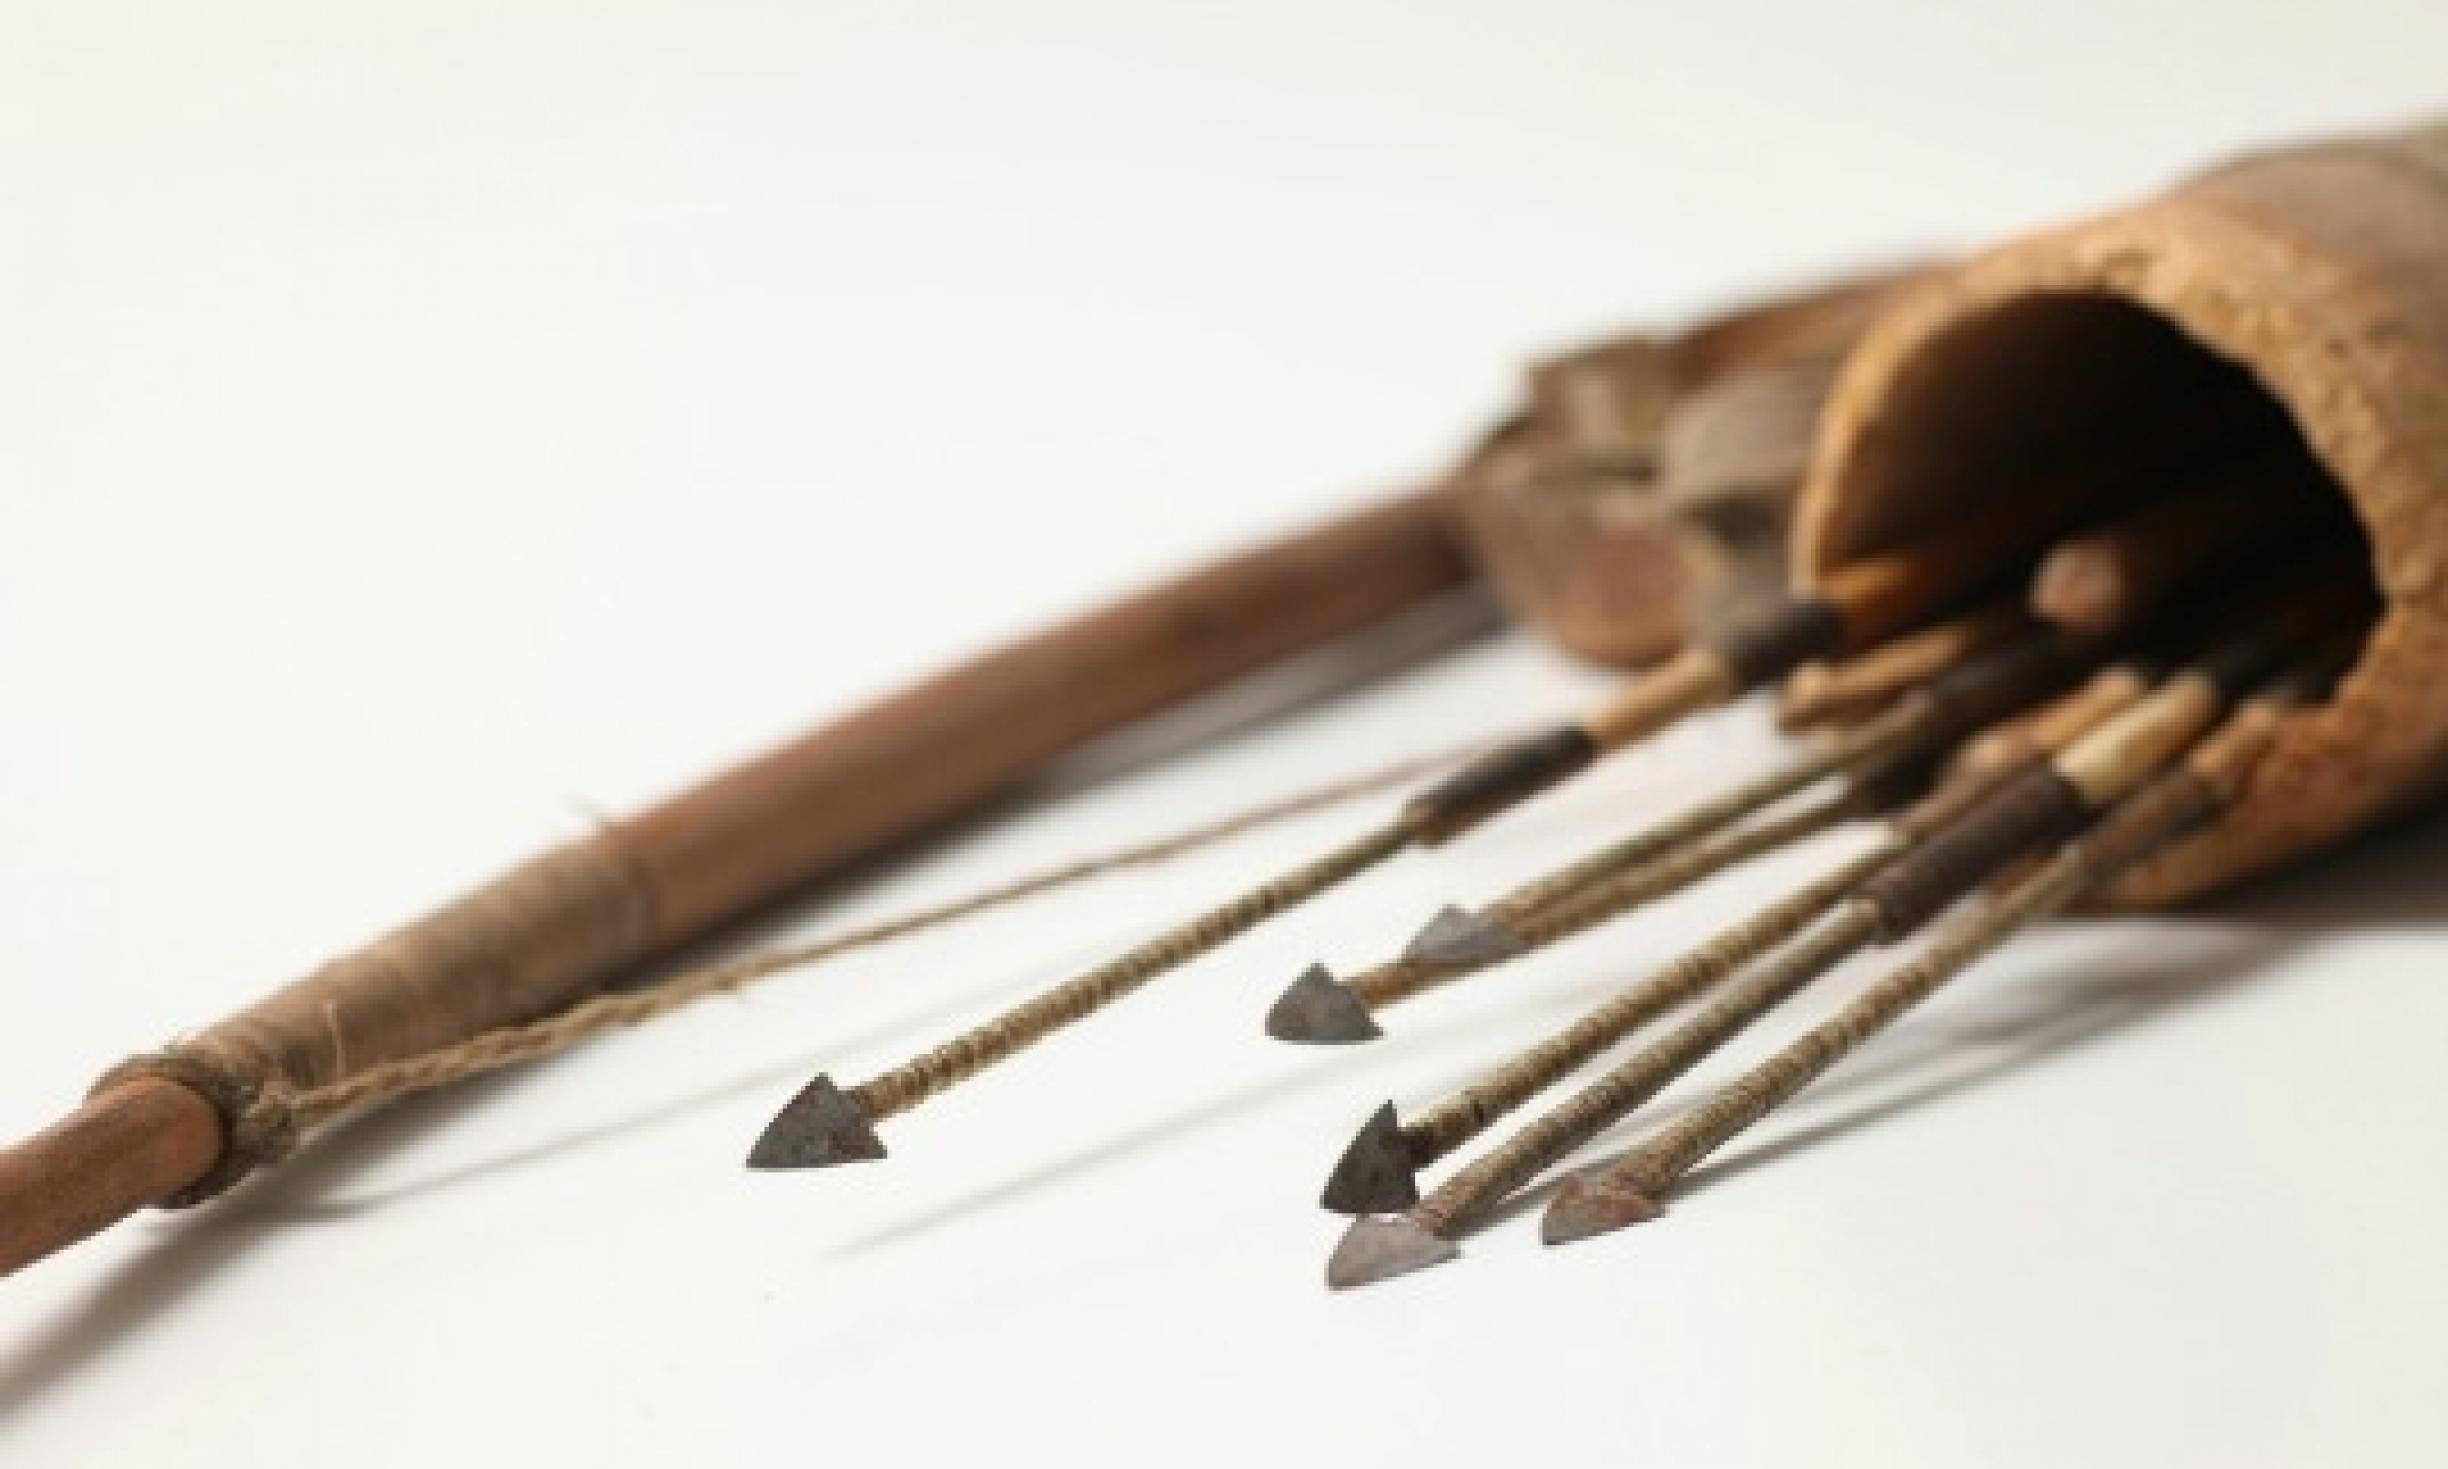
Shaping the Arrows: Scrape the bark off and straighten the shafts by heating them over a fire and bending them slightly past straight. Notch the small end for the string and sharpen or attach a point to the larger end[3].
Fletching: Add feathers or other materials to stabilize the arrow in flight. This can be done by splitting the shaft and inserting the feathers, then wrapping them securely[3].
Drying the Bow: A green wood bow will need to be re-tillered as it dries. For a more durable bow, consider properly drying the wood, which can take several months[2].
Safety: Always use an armguard to protect your forearm from the string. Check the bow and arrows regularly for any signs of damage or wear[4].
By following these steps, you can create a functional survival bow that can significantly enhance your ability to hunt and defend in a wilderness setting.
Citations:
[1] https://www.youtube.com/watch?v=MnKAaehyeqM
[2] https://www.youtube.com/watch?v=8Gz4Ezxl9E0
[3] https://wildernessawareness.org/articles/survival-bow-making/
[4] https://www.offgridweb.com/preparation/building-your-own-survival-stick-bow/
[5] https://www.wildernesscollege.com/bow-making-instructions.html
How to Use a Survival Bow
Maintenance Tips
Survival bows are invaluable tools that offer both practicality and versatility in challenging environments. This guide has walked you through the essentials, from selecting the right bow to using and maintaining it effectively. Ready to choose your survival bow? Check out our top picks and start preparing for your next adventure today!