How to Butcher and Preserve a Turkey
Whether you’re preparing for a self-sufficient lifestyle or just want to take control of your food sources, learning how to butcher and preserve a turkey is an essential skill
Aug 17, 2024 | by N Johansson
Introduction
The thrill of the hunt is just the beginning. After successfully tracking and taking down your prize, the real work begins: harvesting your hunt. This involves transforming your hard-earned venison from a field-dressed carcass to a delicious and safe meal enjoyed months later. Proper handling and storage are crucial to ensure the quality and safety of your venison, so let's dive into the essential steps from field to freezer.
Field Dressing and Processing Your Deer
The first step is field dressing, a crucial process that starts immediately after the hunt. This involves removing the internal organs, including the intestines, stomach, and bladder, to prevent contamination and spoilage. Proper field dressing helps maintain the meat's quality and ensures a fresh, flavorful venison.
Cleanliness is paramount. Use a sharp knife and a clean surface. Wash your hands thoroughly before and after handling the carcass. Carefully remove the organs, avoiding punctures to the intestines, and dispose of them properly. Finally, cool the carcass as quickly as possible by hanging it in the shade or immersing it in cold water. This helps slow down bacterial growth and preserve the meat's quality.
Skinning and Butchering: Preparing for the Freezer
Once you've transported your deer back home, the next step is skinning and butchering. Skinning removes the hide, which can harbor bacteria and insects. Butchering involves breaking down the carcass into manageable portions for individual use.
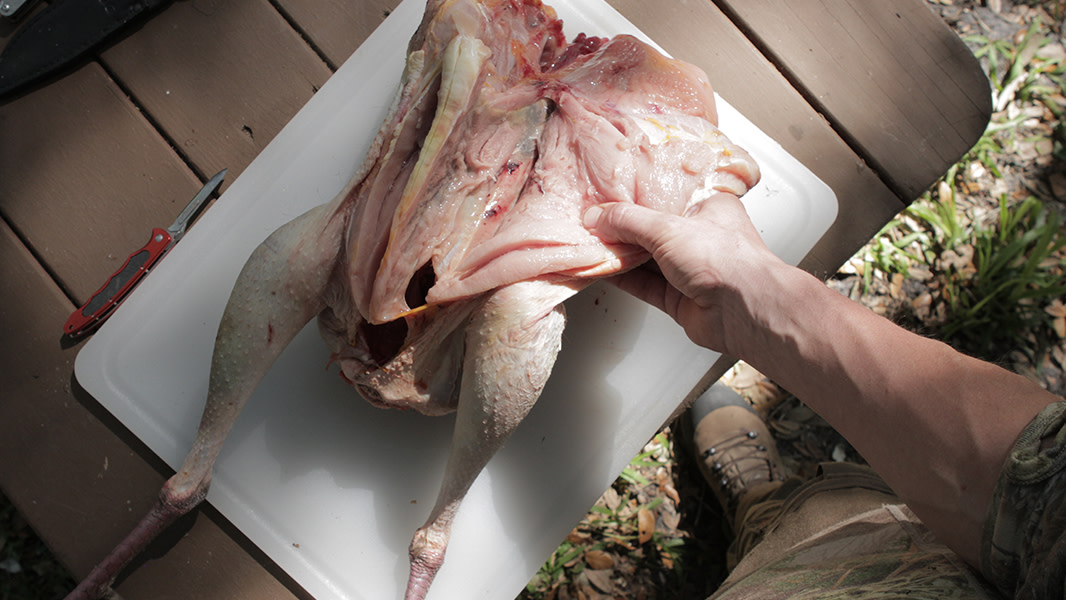
Skinning:
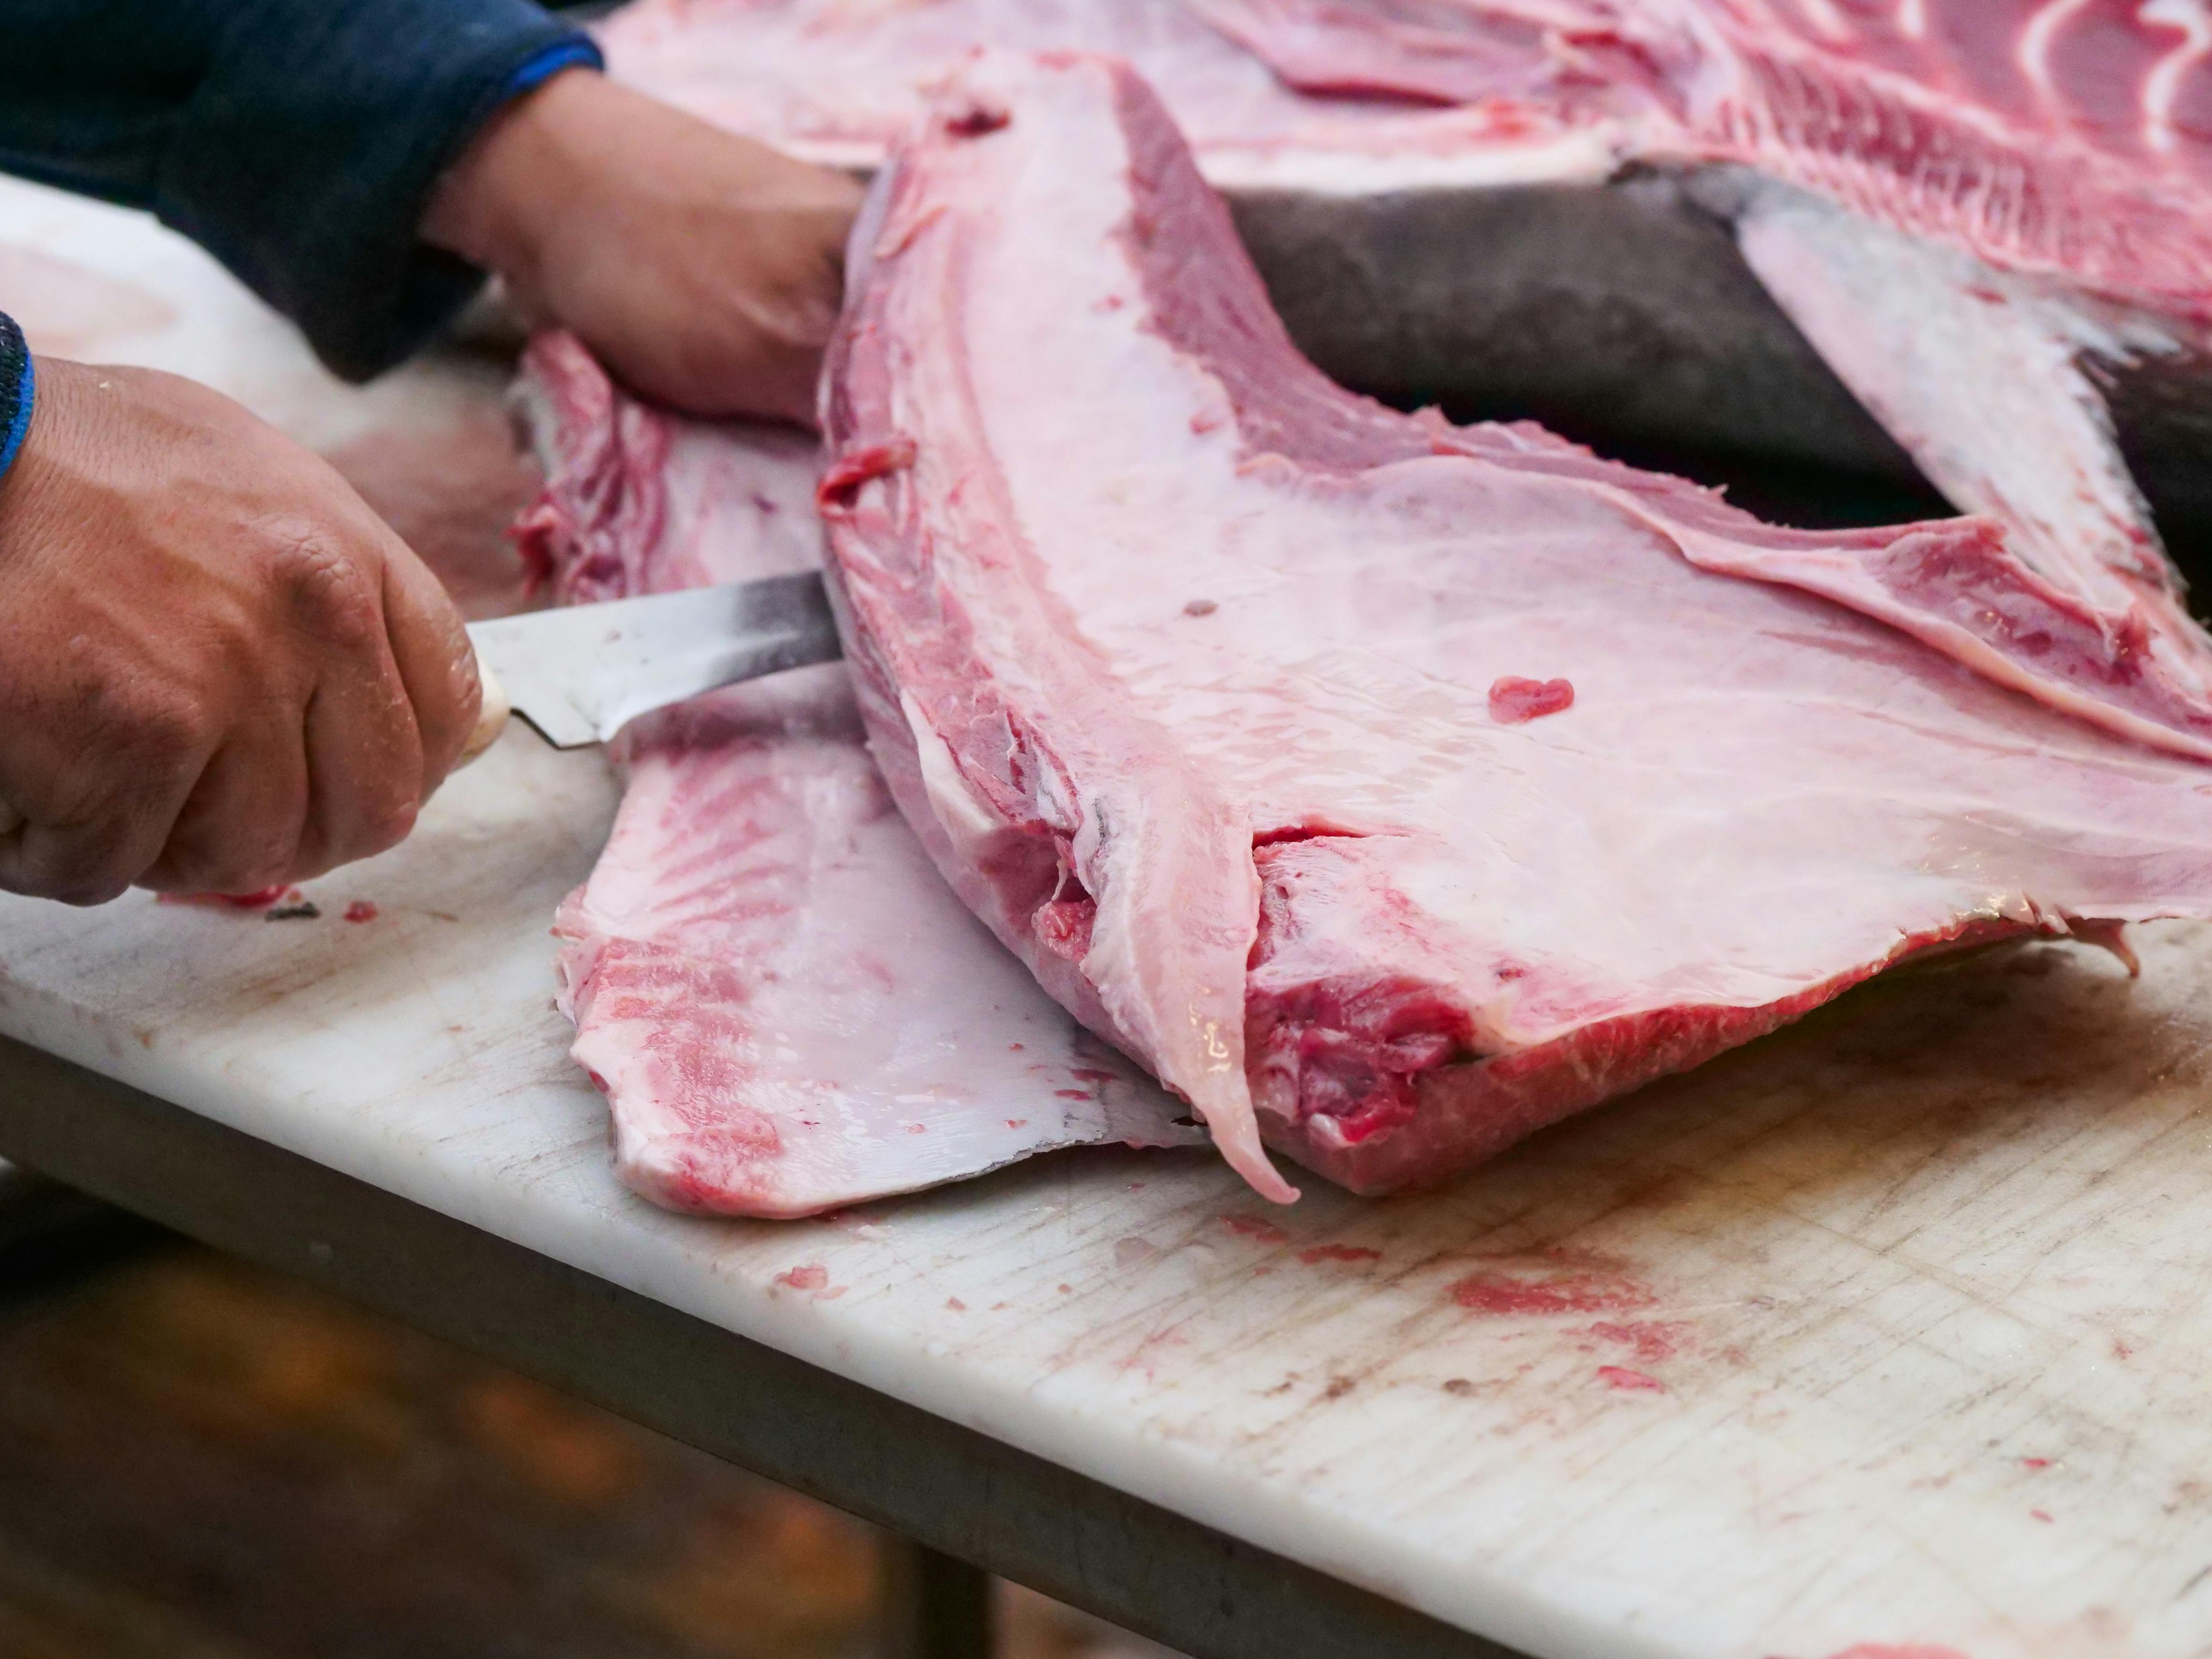
Butchering:
Preparing Deer Meat for Freezing
Now that your venison is butchered, it's time to prepare it for freezing. This involves proper packaging to prevent freezer burn and ensure long-term storage.
Packaging Techniques:
Labeling and Dating:
Always label each package with the cut of meat and the date it was frozen. This helps you keep track of your inventory and use older packages first.
How Long Does Deer Meat Last in the Freezer?
"How long does venison keep in the freezer?" or "How long is deer meat good in the freezer?" are common questions every hunter asks. According to the USDA, properly packaged and frozen deer meat can retain optimal quality for up to 12 months.
However, factors like freezer conditions and packaging quality can affect longevity. A well-maintained freezer at 0°F (-18°C) or lower is essential for prolonged storage. Vacuum-sealed venison tends to last longer compared to meat wrapped in freezer paper.
Maximizing the Quality of Frozen Venison
To make the most of your venison stash, practice these freezer management tips:
Signs of Spoilage and Safe Consumption
While properly frozen venison can last for a year, it's essential to be aware of spoilage signs. A noticeable change in color, texture, or smell indicates potential spoilage. For example, a change from bright red to brown or gray suggests the meat is no longer safe for consumption.
Visual Clues:
Smell: Fresh venison has a mild, gamey odor. Spoiled venison will have a sour, rancid, or ammonia-like smell.
If you suspect spoilage, err on the side of caution and discard the meat. Always check for spoilage before using frozen venison.
Conclusion
Harvesting your hunt is a rewarding process, extending your hunting journey beyond the field. Following these steps from field dressing to freezing ensures a safe, delicious, and long-lasting venison supply. By mastering the art of processing and storage, you can enjoy the fruits of your labor for months to come, taking pride in the quality and sustainability of your own harvest.